Booking templates allow you quickly create bookings with pre-filled in information. Click the links below to jump to a help section.
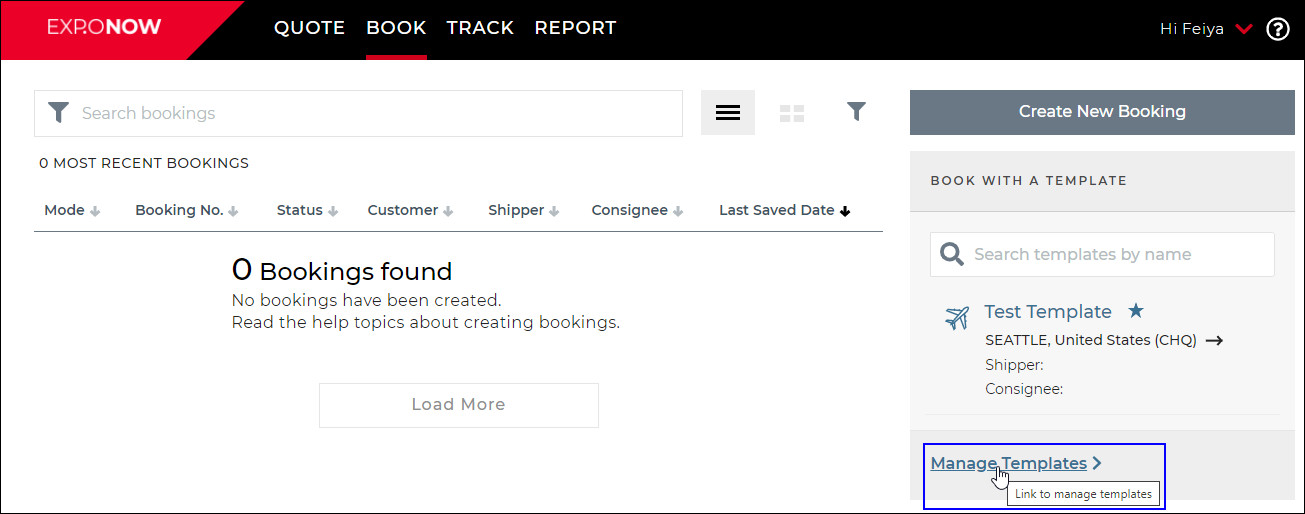
1 Click BOOK from the top navigation, then select Booking (Beta). Click Manage Templates.
Figure 1: Manage Templates
2 The Manage Template page will appear. Click Create New Template.

Figure 2: Create New Template
3 A panel will appear. Enter the Template Name and select the Customer from the drop-down list that you want to create the template for. Select Air for the Mode, then click Create Template.
Q: Why can't I choose a different mode?Q: Why can't I choose a different mode?
A: Currently, only International Air bookings can be made in EXP.O NOW.
We are working to allow the ability to create Ocean bookings at a later date, as well as the other modes.
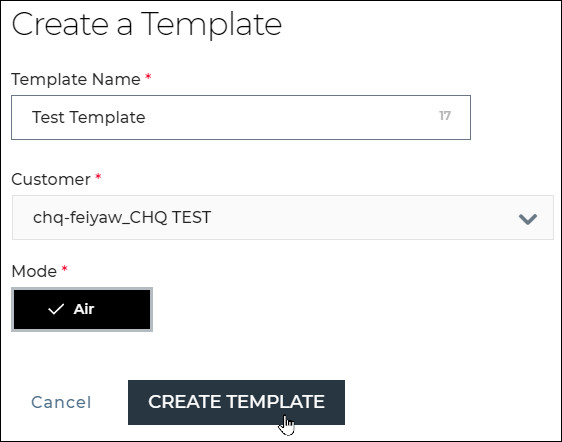
Figure 3: Create Template
3 The new template will appear. You can click Save at any time to save your work and use the left navigation to jump to sections of the template or click Next Section in the lower right-hand corner to move to the next section. None of the fields are required for a template.
4 Once you have finished creating your template see Create a Booking Using a Template. If you want to create another template, you can copy your existing template. Templates can also be marked as a favorite for easy access or shared.
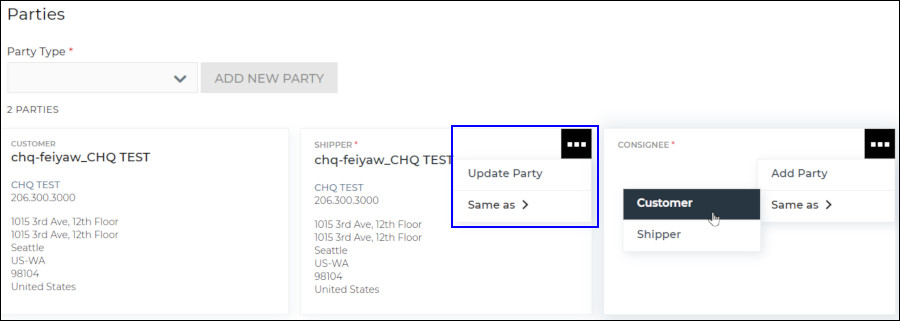
Figure 4: Parties Section
To enter the address and contact information for a party, click the menu icon ( ) and select Add Party, which will bring up a panel where you can enter the details for the party, or select Same as and choose a party to copy the details of.
To edit a party, click the party name or click the menu icon () and select Update Party and an Edit Party panel will appear.
If you need to add additional parties, first select the Party Type from the drop-down list and then click Add New Party.
Click to view a list of optional party types available.Click to view a list of optional party types available.
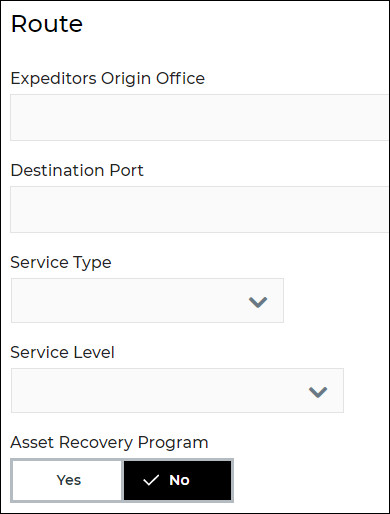
Figure 5: Route Section
For the Expeditors Origin Office and Destination Port, enter the city or port you are looking for and suggestions will automatically appear as you type.
Select the Service Type and Service Level from the drop-down lists.
Asset Recovery Program is also known as IT Asset Disposition, the process of collecting used IT resources. Select Yes to track and give visibility to Asset Recovery Business.
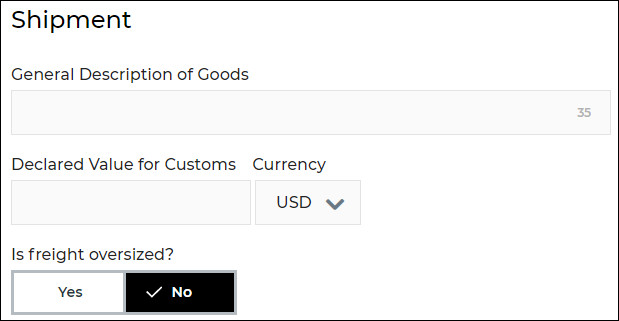
Figure 6: Shipment Section
Enter the General Description of Goods, the number to the right of the field is the number of characters you are allowed for the field.
If you select Yes for Is Freight Oversized? you will see an additional Oversize Description field where you must enter a description of the oversized freight.
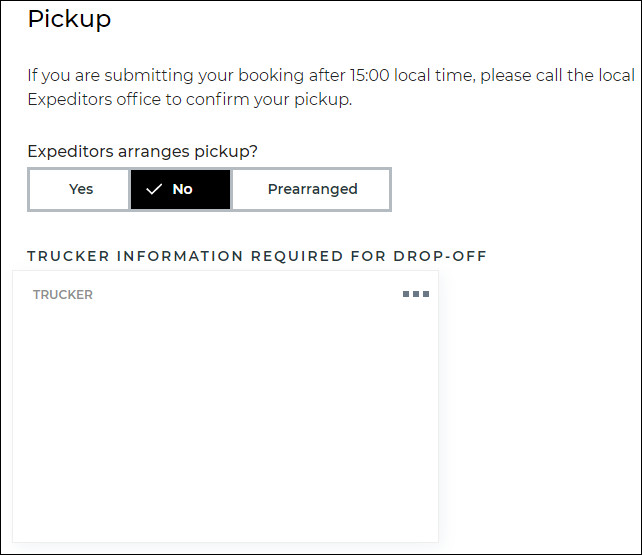
Figure 7: Pickup Section
Select Yes if Expeditors is arranging the pickup, No, if another company will be doing the pickup or Prearranged if pickup has already been handled. Enter the information needed depending on which option you choose. To add party information, click the menu icon ().
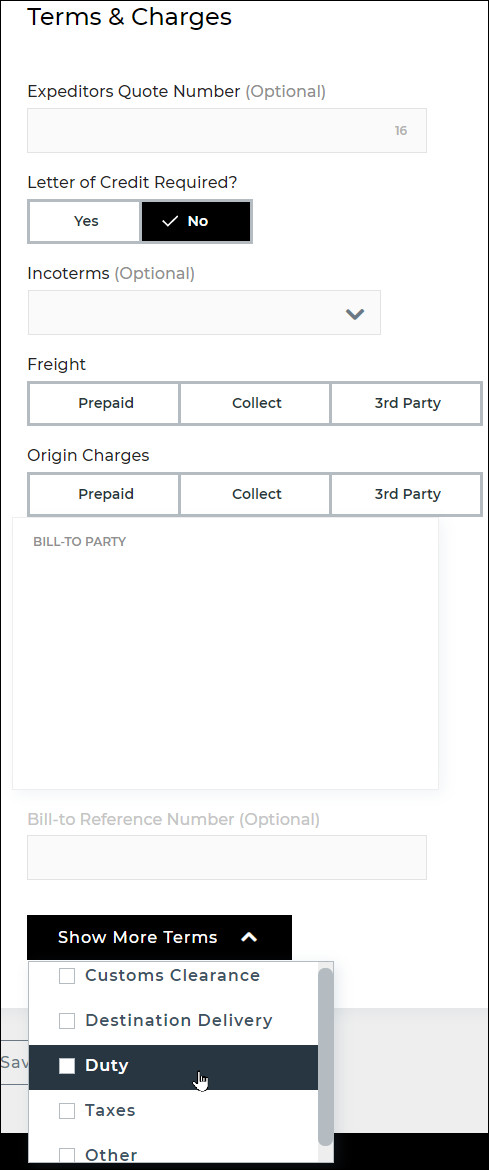
Figure 8: Terms & Charges Section
Select Yes or No for if a Letter of Credit is required.
For the Freight and Origin Charges, select the method of payment, Prepaid, Collect, or 3rd Party. If you select 3rd Party, you must fill in the Bill-To Party section. Click the menu icon () to add the party information.
To add additional terms, click the Show More Terms drop-down list and select the terms you want to add. To delete terms, unselect it from the drop-down list.
To edit or view your template, click Manage Templates.
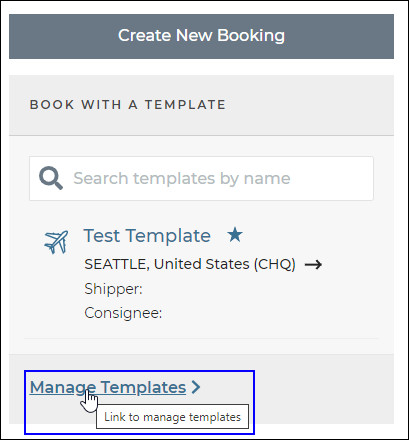
Figure 9: Manage Templates
Find the template you want to view or edit in the list by entering the template name in the filter. Click the template name.
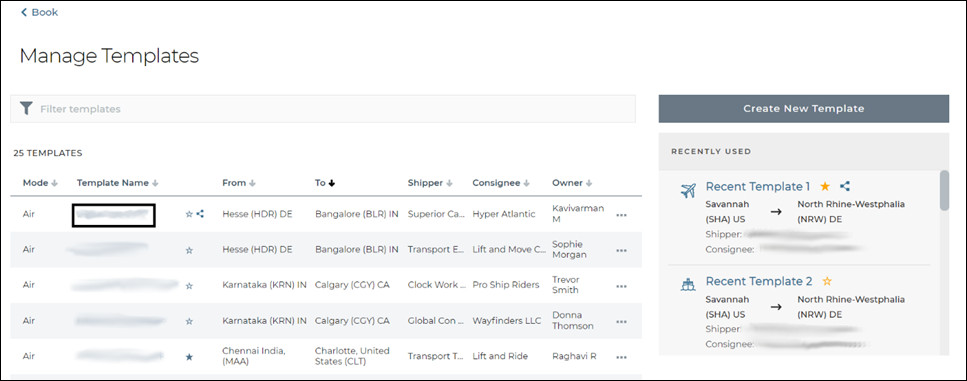
Figure 10: Template Name
To copy a template, in Manage Templates, click the menu icon () and select Copy. You can also create a booking using the template by selecting Book, mark the template as a favorite by selecting Mark as Favorite or delete the template by selecting Delete.
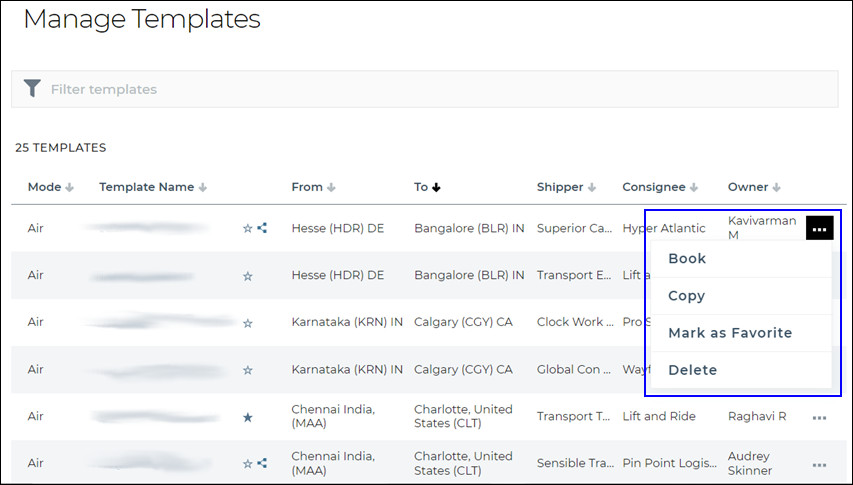
Figure 11: Manage Templates - Menu - Book, Copy, Mark as Favorite and Delete
Favorited templates will appear in the Book with a Template section for easy access.
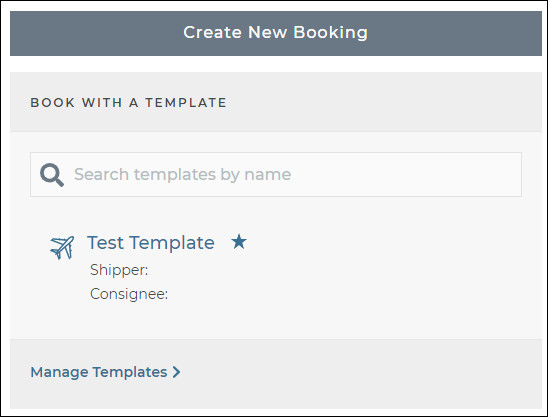
Figure 12: BOOK Home Page - Book with a Template Section
To favorite a template, on the Manage Templates page, click the menu icon () and select Mark as Favorite to favorite a template (see Figure 11). You can also mark a template as a favorite while editing or viewing the template (see Figure 13).
To remove a template from your favorites list, click the menu icon () and select Unmark as Favorite.
To share a template, on the Manage Templates page, click the template name to view the template and then click the Share Template slider to turn on sharing the template. Shared templates will be shared with users within your company.
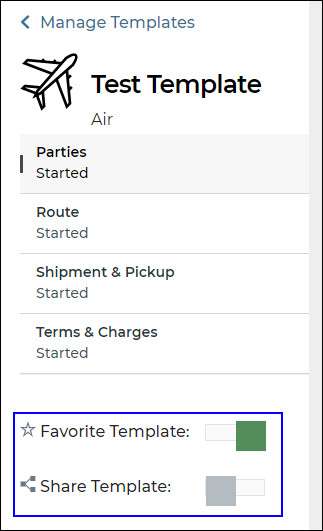
Figure 13: Favorite Template or Share Template
On the main Book page, in the Book with a Template section, enter the template name in the Search Templates field. Click the template name to create a booking using the template. Templates will show up in this section if you mark them as a favorite.
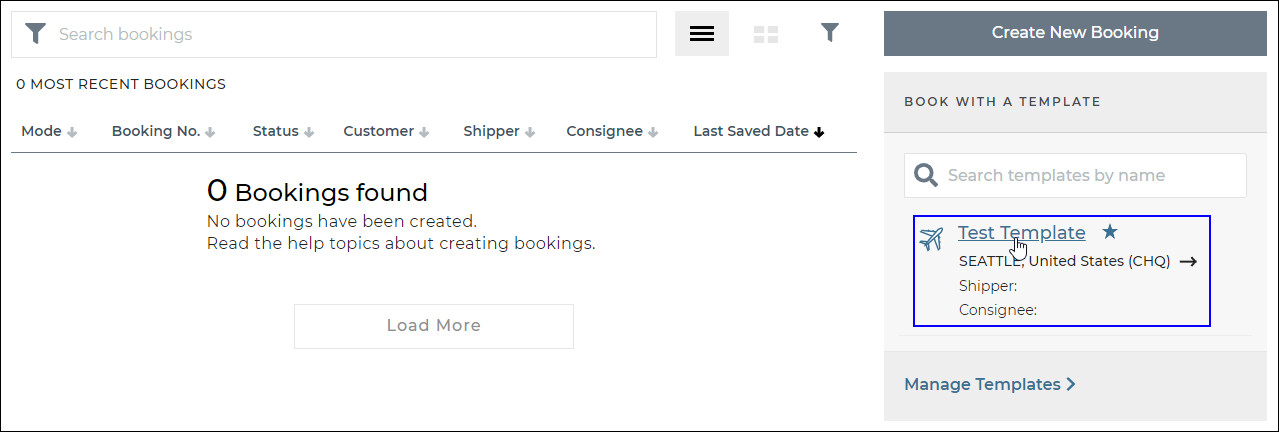
Figure 14: Book with a Template
Or, from the Manage Templates page, click the menu icon () and select Book.
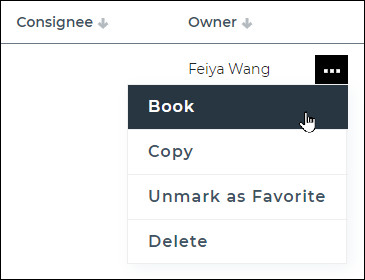
Figure 15: Manage Templates - Book
In Manage Templates, click the menu icon () and select Delete to delete the template. You can also click Delete Template in the header of the template while viewing or editing it.
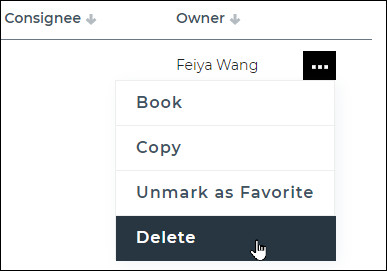
Figure 16: Manage Templates - Delete
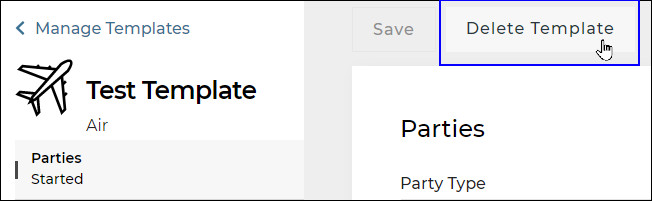
Figure 17: Delete Template Button